
Last year, I completed the 12 Projects of Codemas! Maker Advent Calendar from The Pi Hut. This year I’m back with their follow-up – Let it Glow! – dedicated to all things that light up, flash, illuminate and more!
- Follow along with the Calendar: ThePiHut.com/Advent.
- Follow my progress below or on X, Instagram, Threads, BlueSky or YouTube.
Day #1: Let’s Get Started!
Monday 2nd December 2024
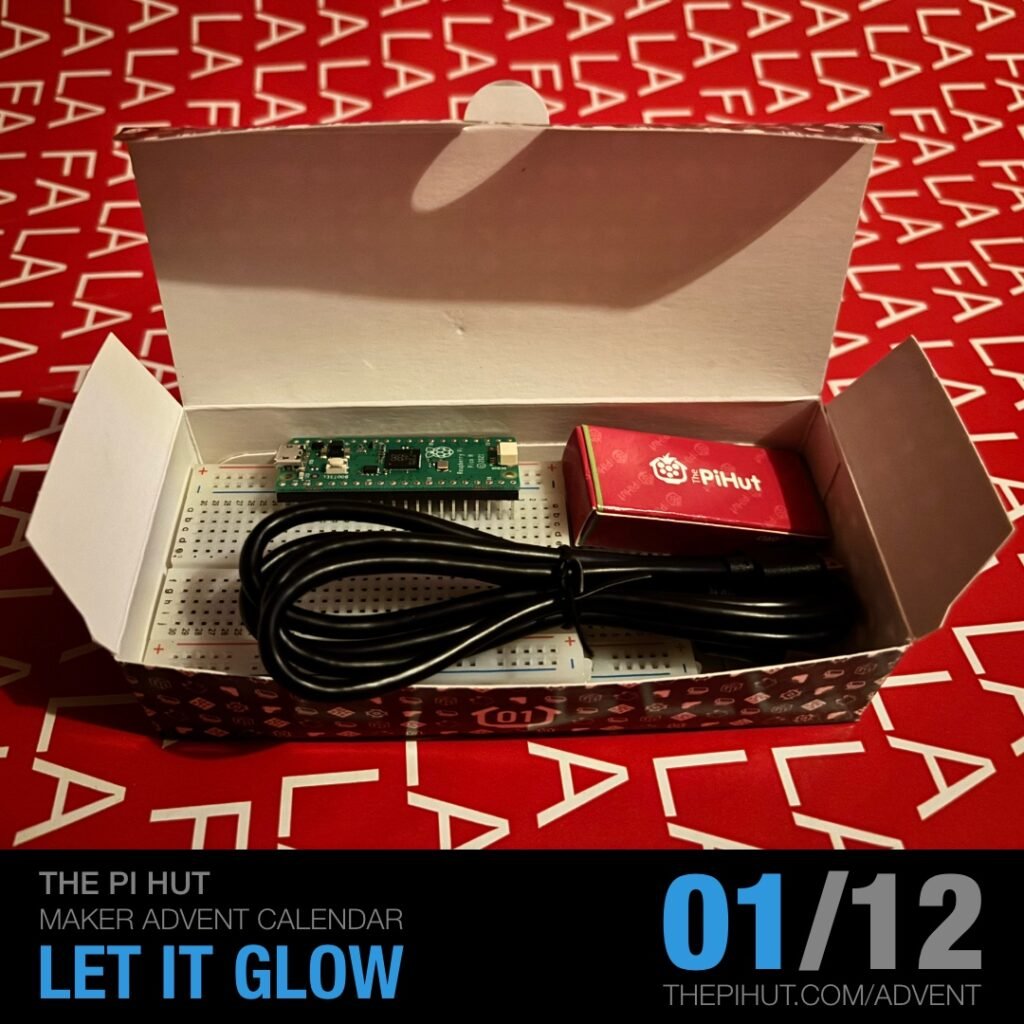
Today, we set-up the Raspberry Pi Pico H with Thonny and MicroPython.

Day #2: Lighting LEDs!
Wednesday 4th December 2024
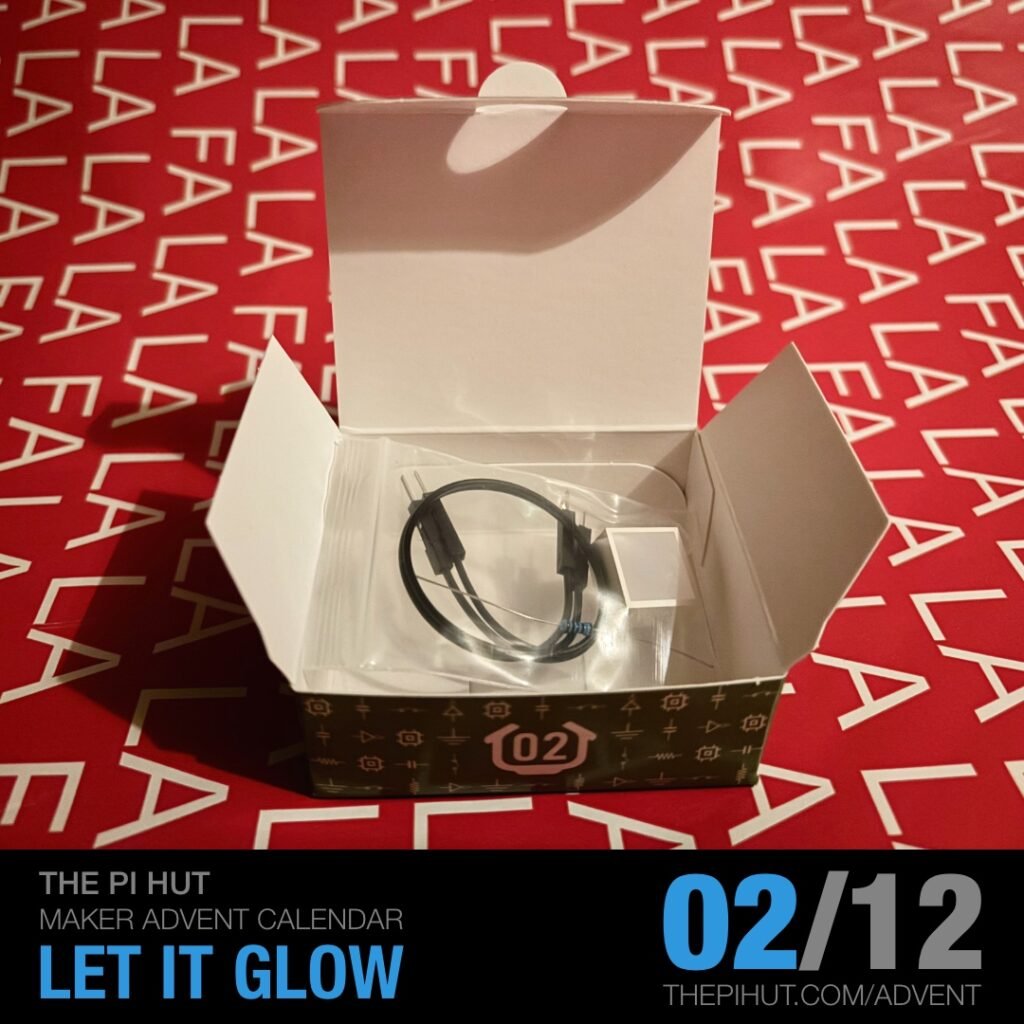
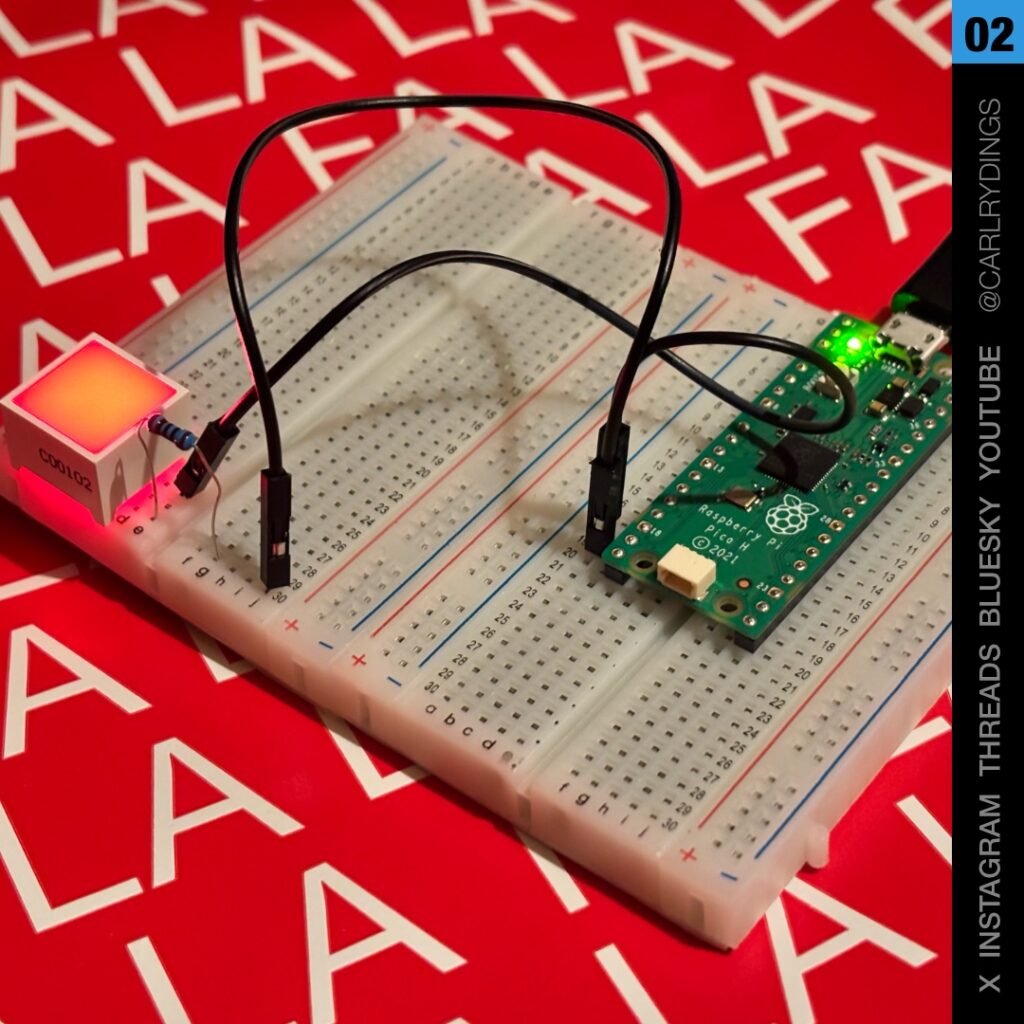
Today, we wrote a little program to turn on the Pico’s onboard Green LED. The code also flashes the Red LED block ten times and then stops, waiting half a second between each flash.
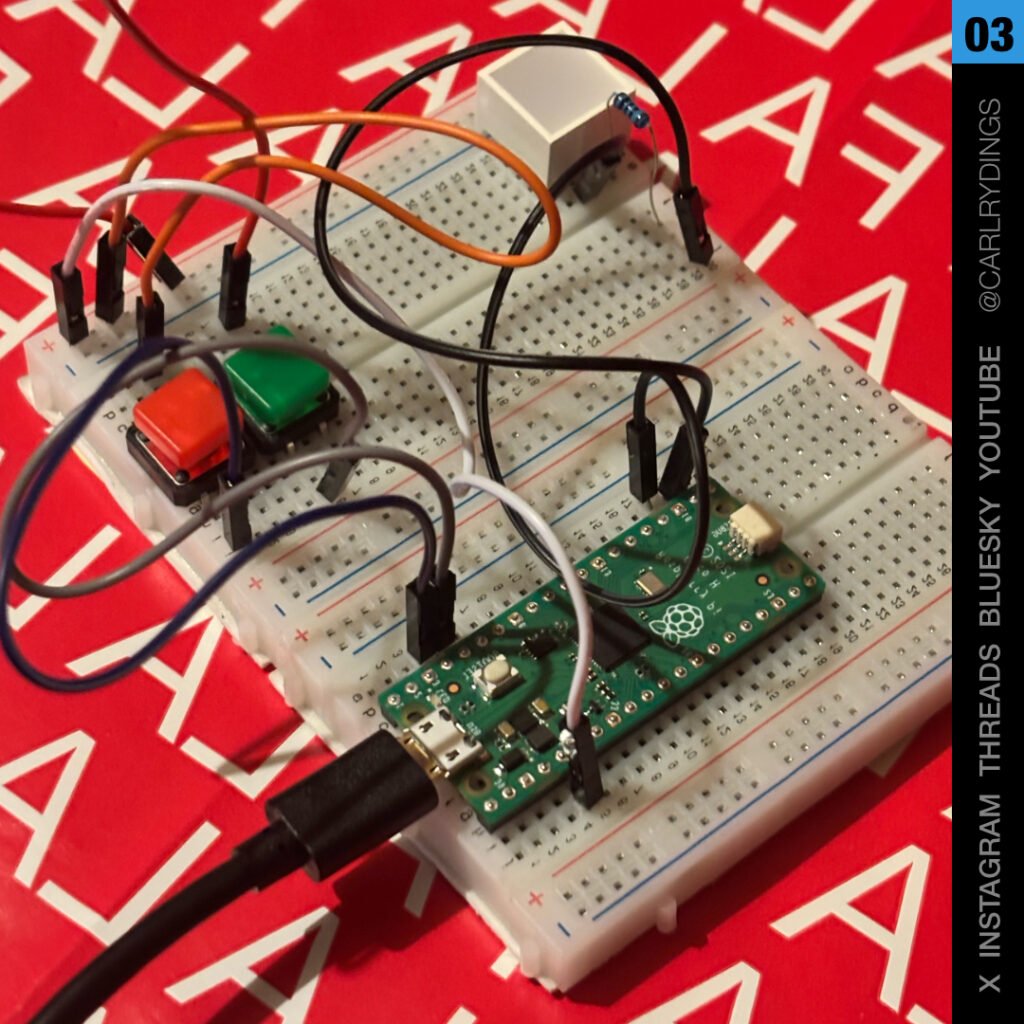
Day #3: Incredible Inputs!
Friday 6th December 2024
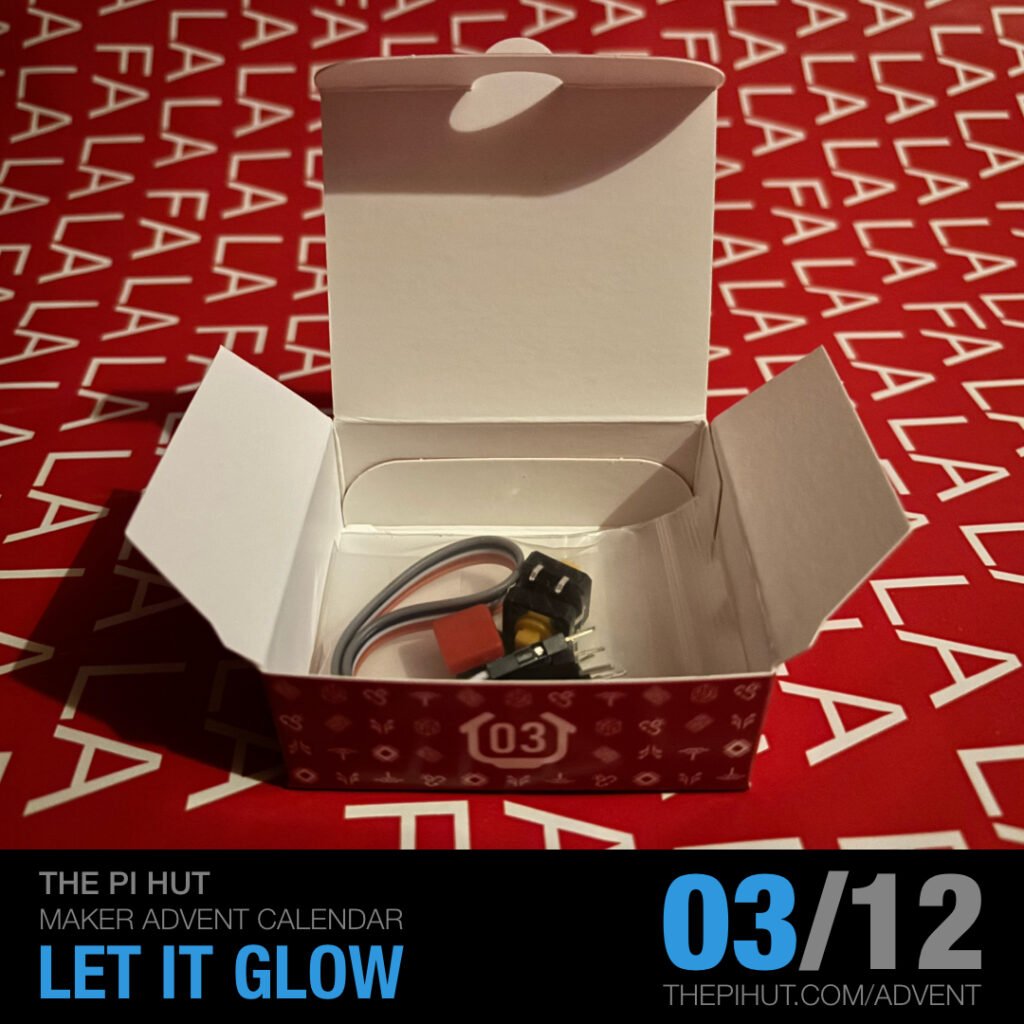
Today, we wired a button circuit into our build. We controlled the LED block with the buttons and counted up and down depending on which button was pressed.
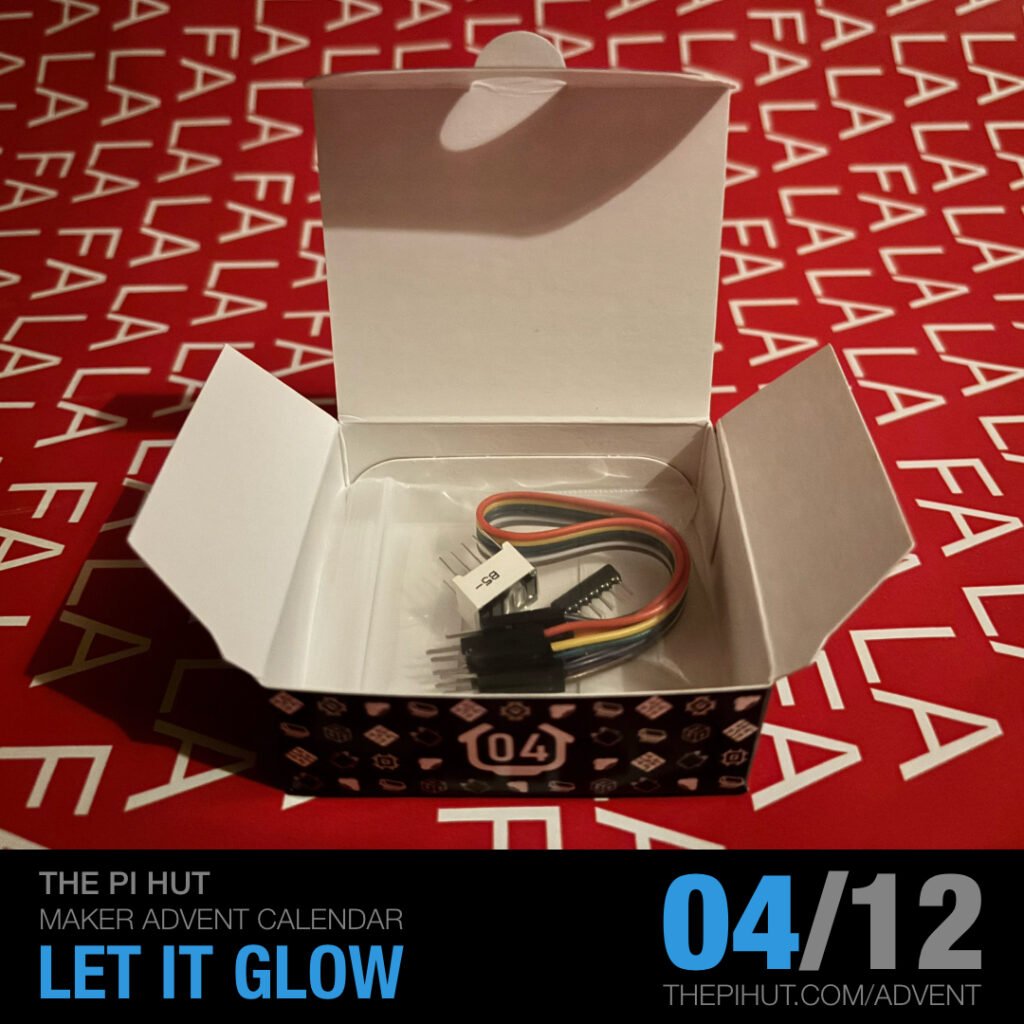
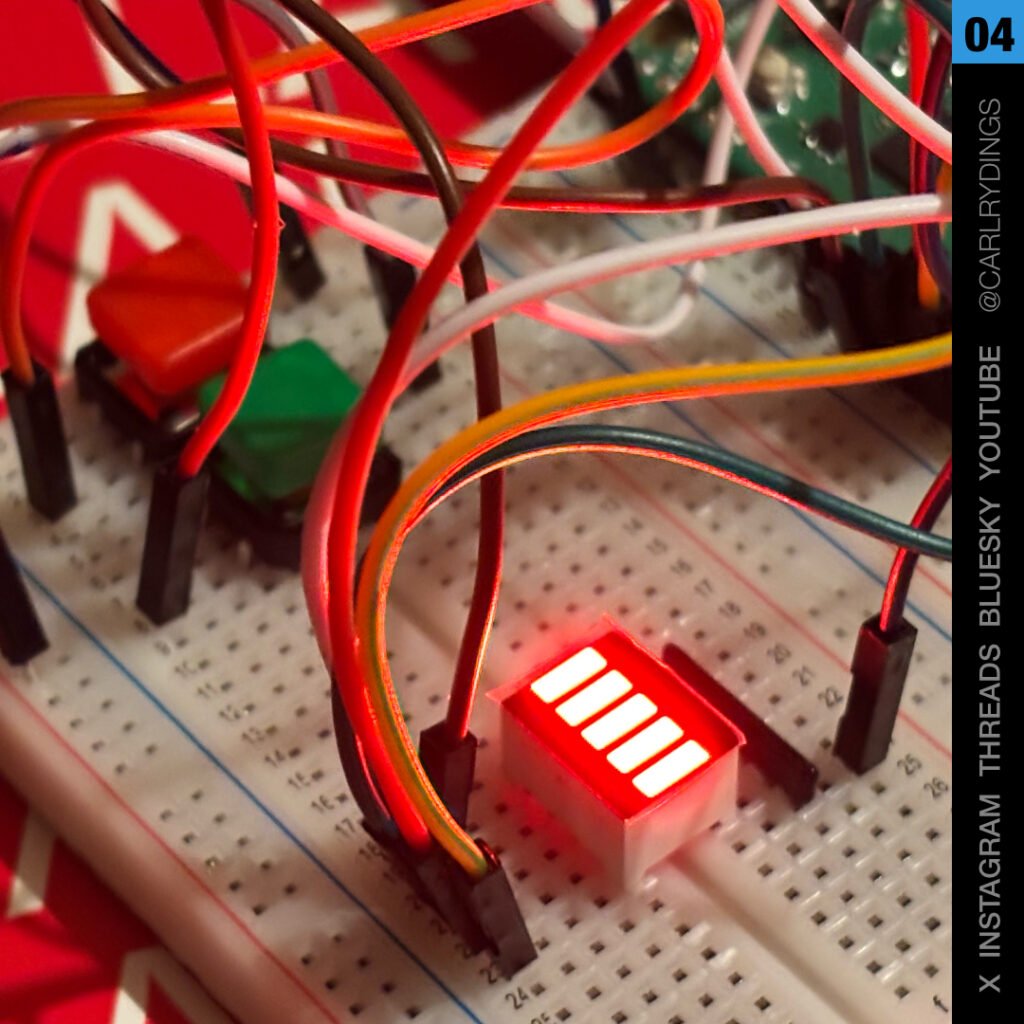
Day #4: Brilliant Bar Graphs!
Monday 9th December 2024
Today, we added a 5-segment bar graph to our build. Three code blocks were tested – an LED scanner like Knight Rider, random LEDs, and a counter using our button circuit from yesterday.
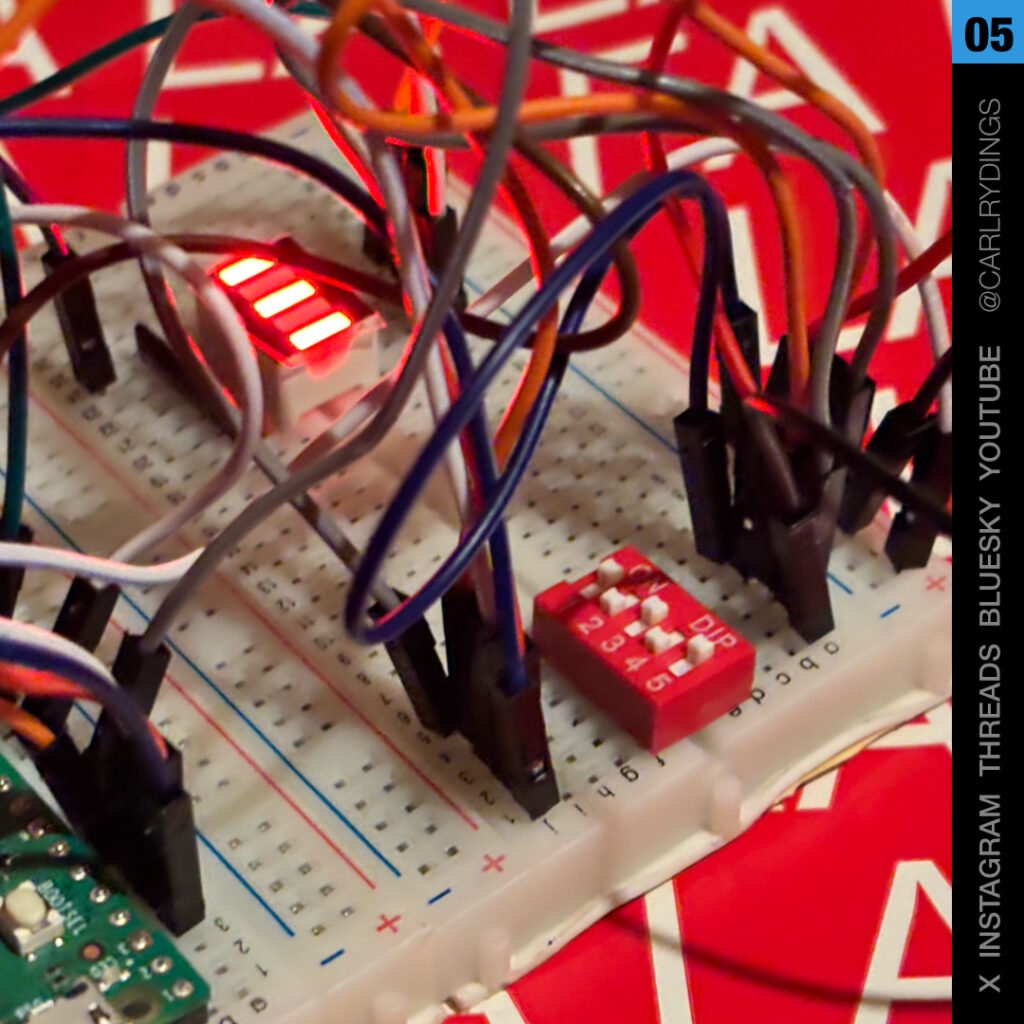
Day #5: Switch the DIP!
Wednesday 11th December 2024
Today, we added a “rat’s nest” of jumper wires and a 5-way DIP switch. We can now physically turn each LED on and off individually. Also, using functions we can run little programs for each DIP switch.

Day #6: See the RGB!
Friday 13th December 2024
Today, we reset the breadboard and added two addressable RGB LEDs. Creating loops in code to cycle the colours, add in fades, and pass the colour between the two LEDs.

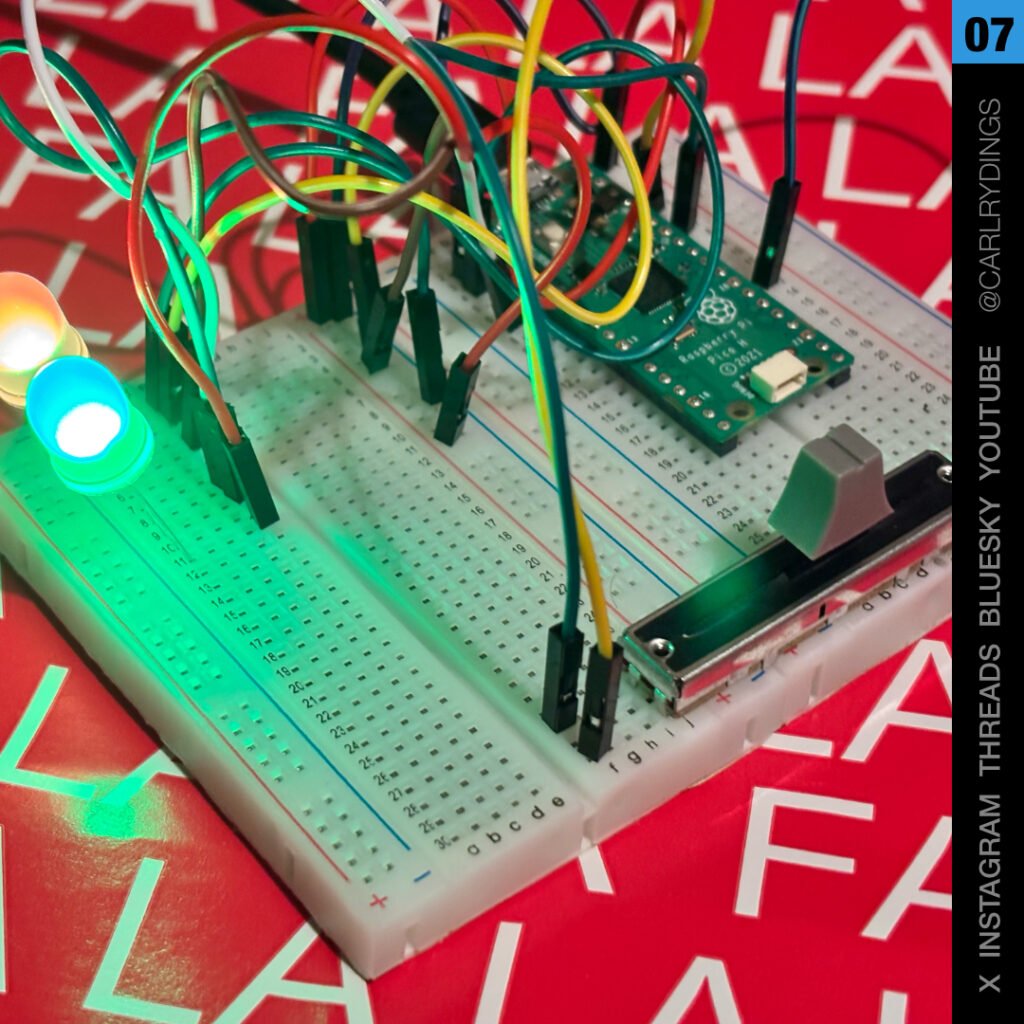
Day #7: Time to Slide!
Sunday 15th December 2024
Today, we added a slide potentiometer “slider” to the build. We changed the LED colours, fades, and flash speed. We used the ADC pins on the Pico to turn the signal coming from the slider into digital.
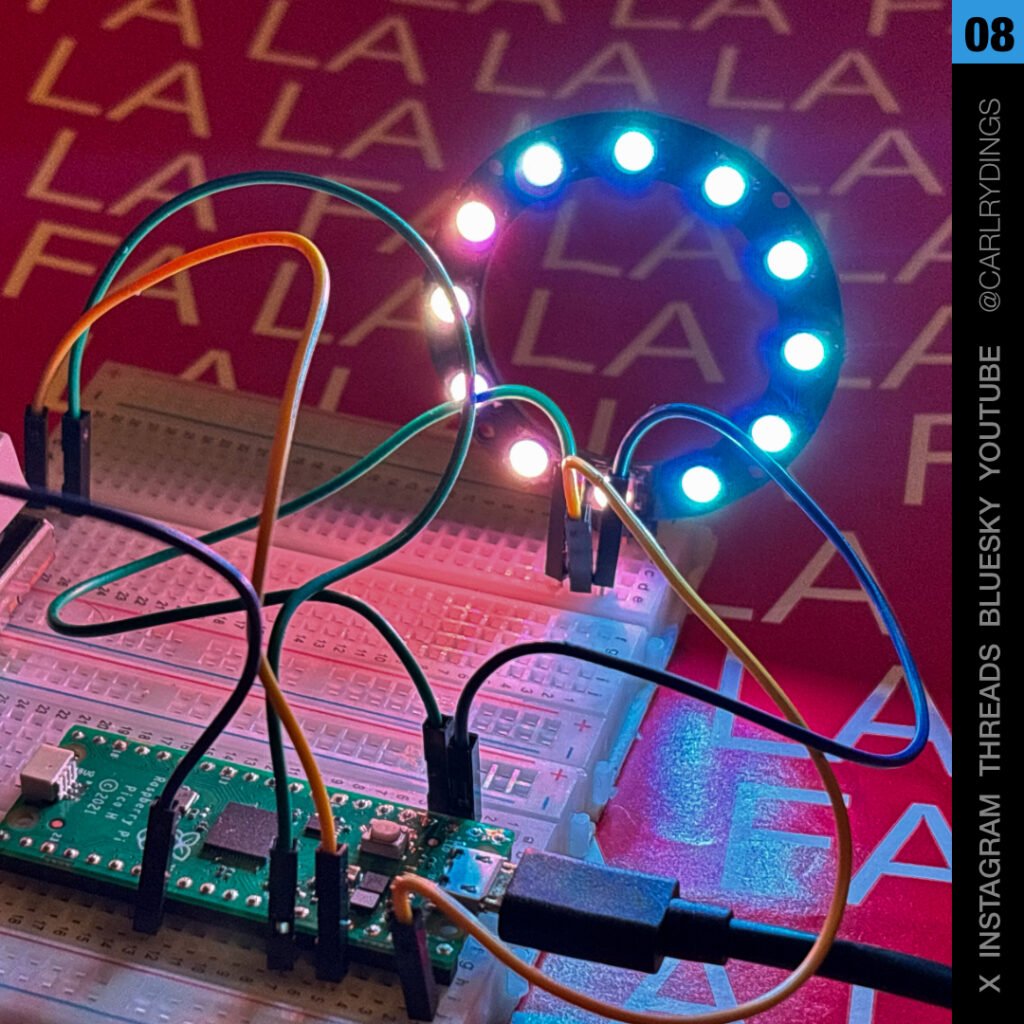
Day #8: Rainbow Ring!
Tuesday 17th December 2024
Today, we added a ring of 12 RGB addressable LEDs. Activities included light chasing, spinning lights, bouncing lights, and random colours.
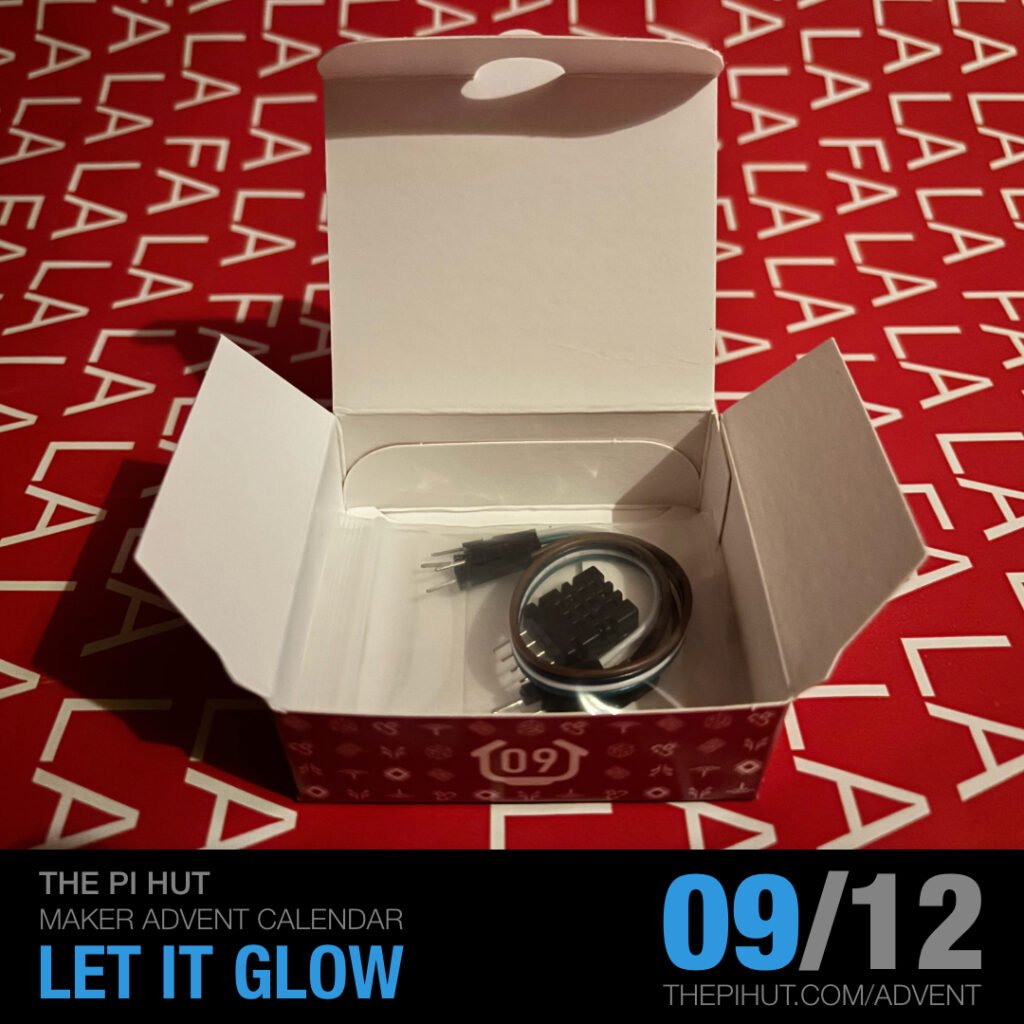
Day #9: Ice Cold Coding!
Wednesday 18th December 2024
Today, we added a DHT20/AHT20 temperature and humidity sensor, obtained the readings, and displayed the temperature using the LED ring from yesterday.

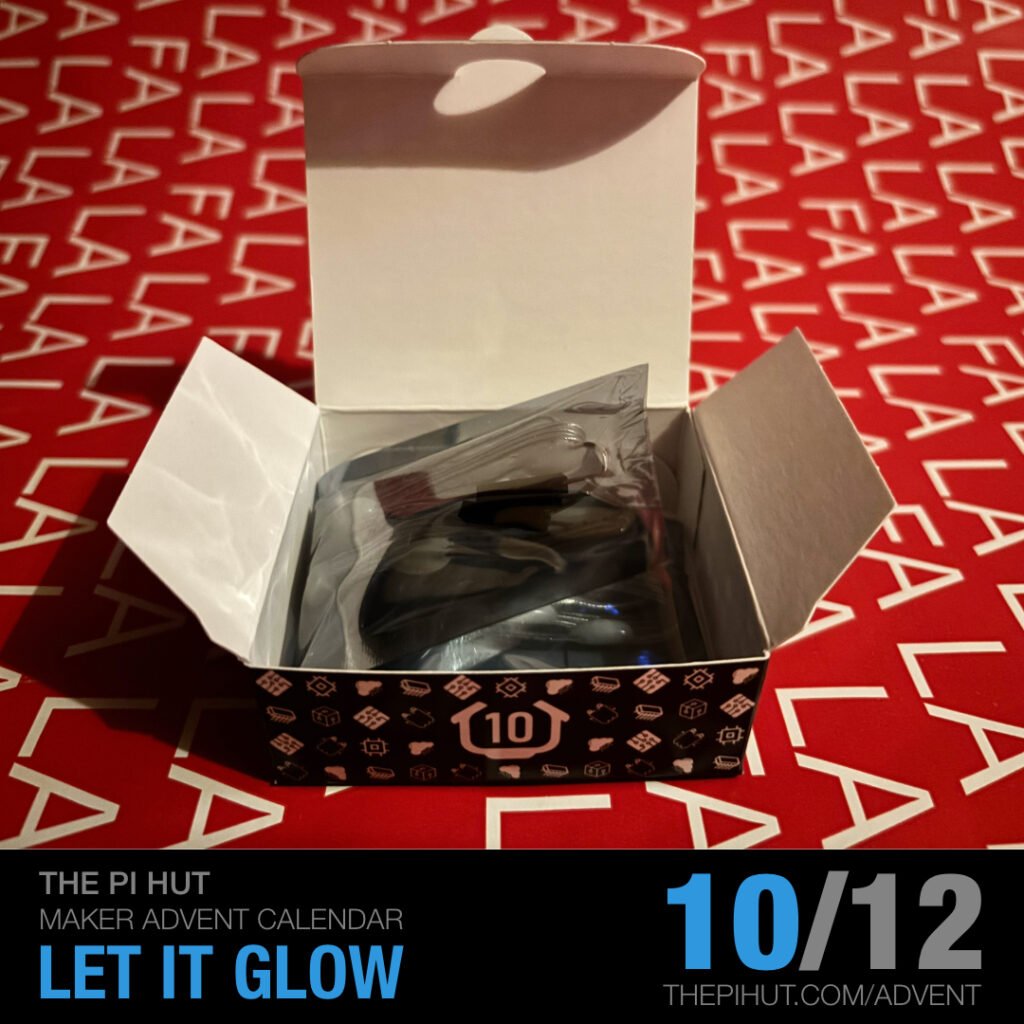
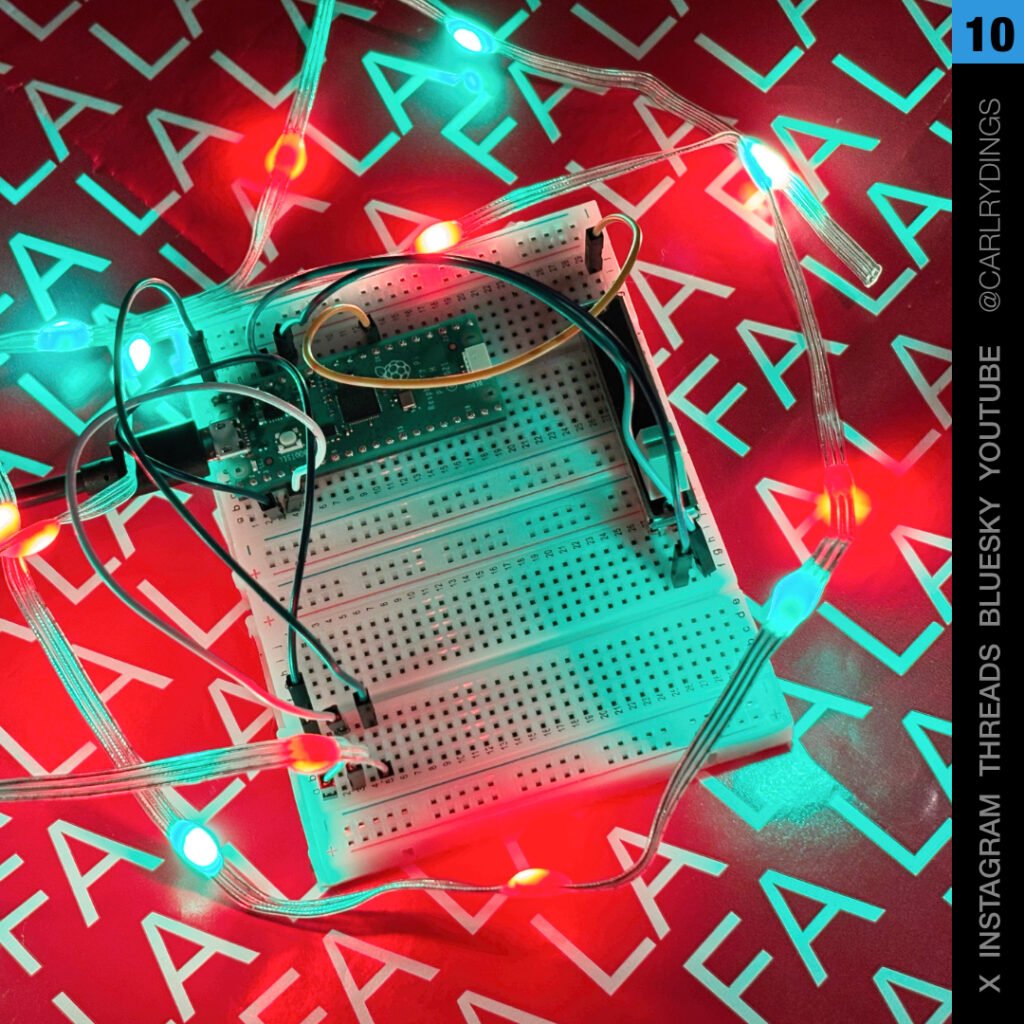
Day #10: ULTRA Blinky!
Sunday 22nd December 2024
Today, we added a 15-LED RGB dot strand and brought back the Slide Potentiometer from Day 7. We ran some cool effects Including flashing alternate odd/even LEDs between red and green.
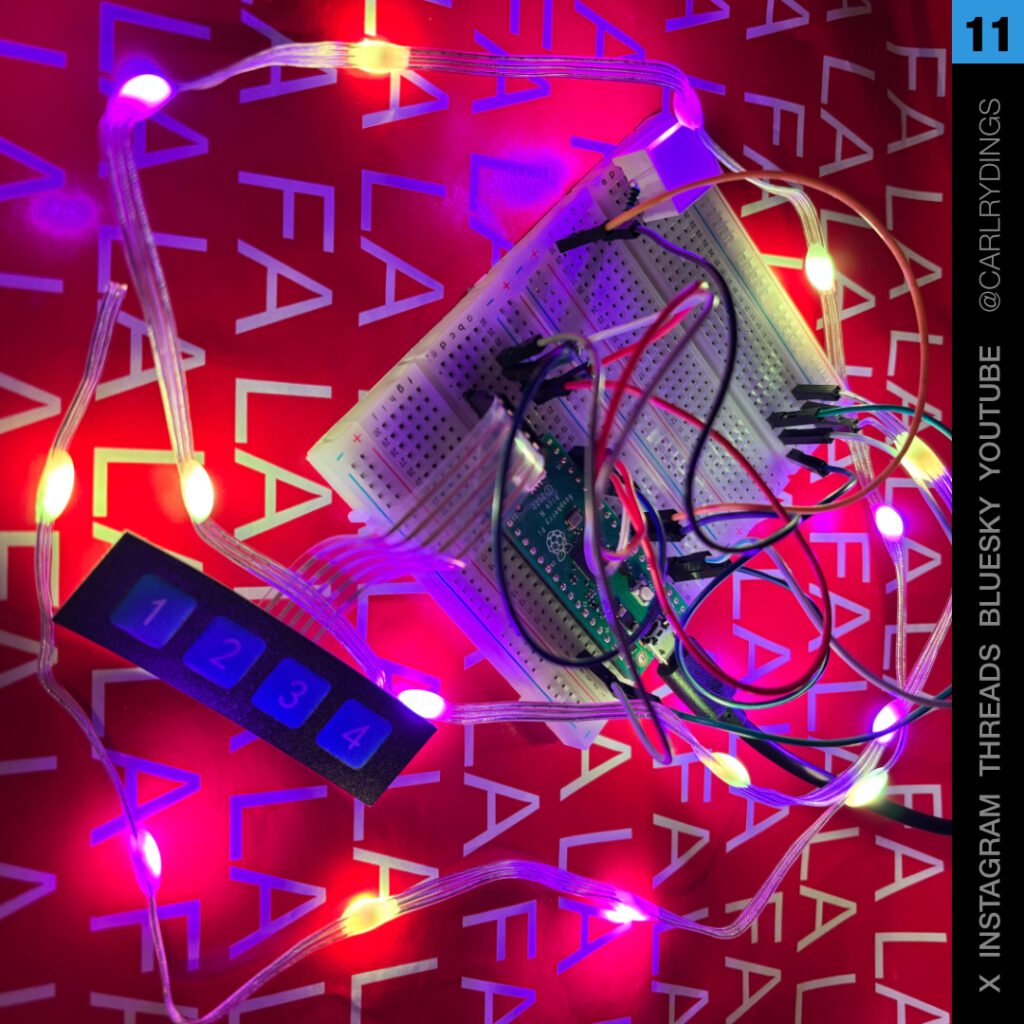
Day #11: Merry Membrane!
Monday 23rd December 2024
Today, we added a 4-way membrane keypad to our build. We used the buttons as a colour pattern selector and a passcode input for a secret present list.
Day #12: Dazzling Displays!
Tuesday 24th December 2024
On the final day, we added a 16×2 LCD (with an I2C backpack) and brought back our RGB dot strand and temperature sensor. We displayed the current environment data and had the program pick colours for the strand.


That’s it for the Let It Glow, I hope you enjoyed coming along for the journey.